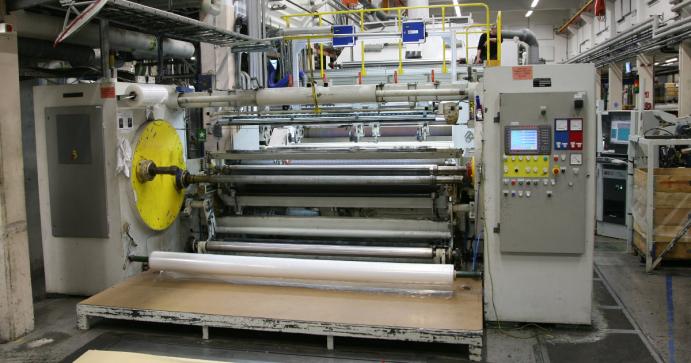
This article is about an alignment job on a machine for plastic film. A new product requires a modification to the machine, which, simply put, consists of a stand with a number of rolls that can be hooked onto the existing machine when an order comes in. When the order has been produced the stand must be removed again for normal production.
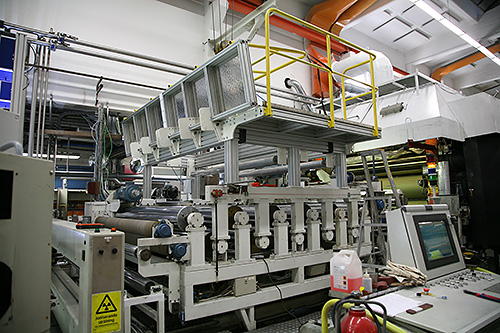
The stand must be lifted on and off the existing machine as necessary.
The customer wanted a separate measurement system for better control of the rolls' positions in the installation, and has chosen the flexible Easy-Laser® E970 system. Our technician, Jan Oscander, performed the task as a combination of training and measurement work. In this way Jan also gained several assistants during the work! After a few years on the job one learns that it is useful to have two people on the job, otherwise there is lot of unnecessary climbing up and down, or walking back and forth on the machines between the laser transmitter and the measurement site where the detector is located.
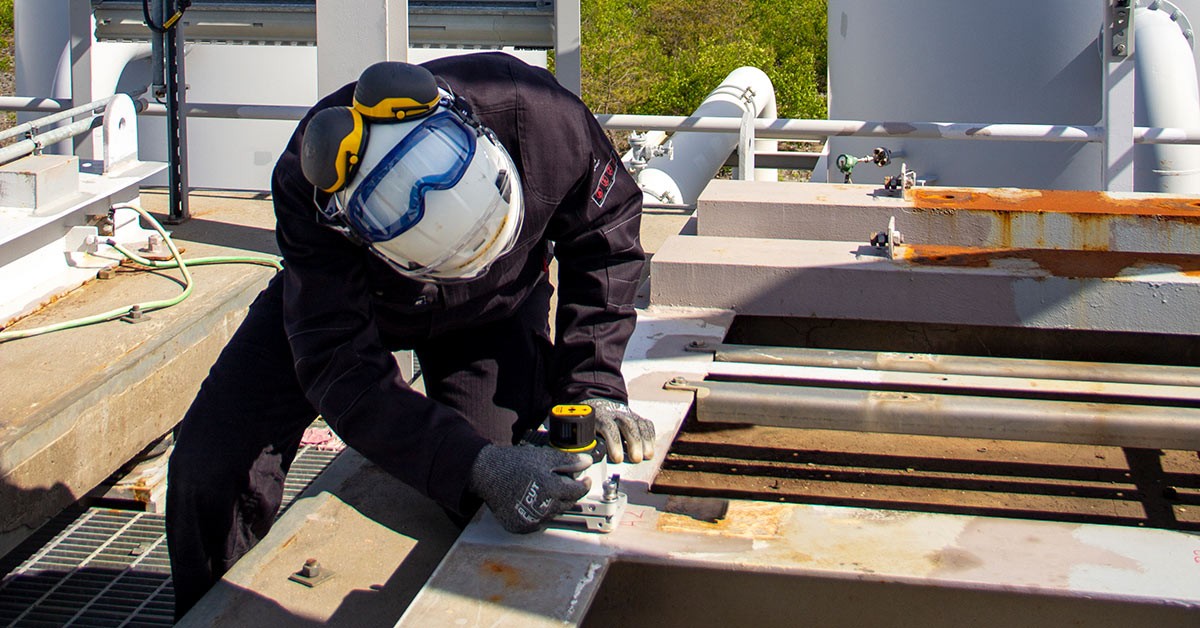
The measurement equipment used was an Easy-Laser® E970 with laser transmitter and angle prism mounted on a stand, as well as the digital E290 level. As already indicated, some additional parts were needed to manage the measurement, but more on that later.
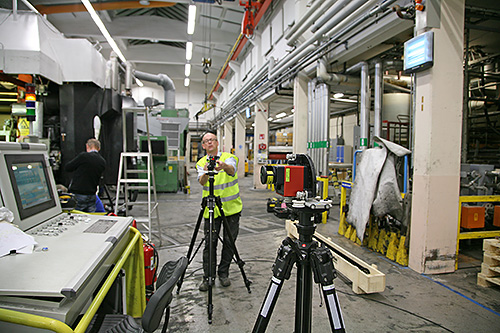
Adjustment of the angle prism to the laser transmitter D22.
Work started by measuring a reference roll, to which we can return every time the measurement equipment needs to be moved. In addition, two base line markings were placed on the floor some distance away from the laser transmitter. The markings are used to realign the laser transmitter parallel to the machine, if the stand is accidentally moved.
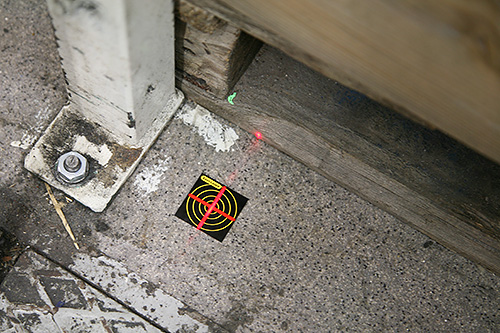
Base line markings were placed some distance away in well protected areas.
While we were taking measurements on the machine, the customer's technicians replaced a roll. Naturally, we got a surprise when we returned after lunch; it turned out that they had moved part of the machine (which is on rails) in order to access this roll, which meant we could no longer access our reference roll! So we measured another suitable roll as reference. We allowed this detector to remain on the roll as a reference detector. Now we can compare the detector's measurement value to what we had from the start, at any time, and thus verify that the laser transmitter is not disrupted while measuring.
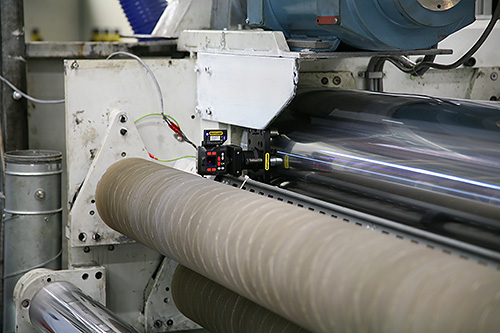
A reference detector is used to ensure that the laser transmitter does not move out of position.
Taking measurements during "normal" working hours in a factory always attracts people. It sounds funny, but you do need to ensure that nobody moves the measuring equipment.
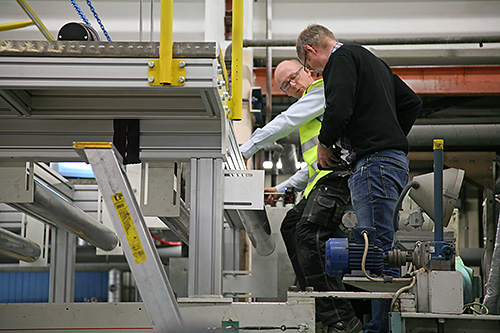
Back to the measurement task at hand. First, we aligned the actual stand construction with the existing machine. After that, we welded new tapered mountings in place for it, which enable the stand to be lifted on and off by an overhead crane.
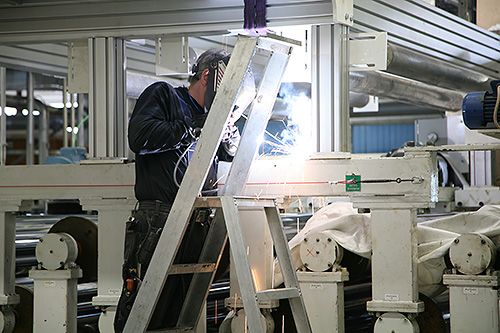
The first step was to weld on tapered mountings onto which the stand can be lowered with precision.
The next step was to adjust all the rolls on the stand. These were only roughly adjusted by the manufacturer. Then came the next surprise; the adjuster plates from which some of the rolls hung did not allow separate adjustment of the vertical and horizontal positions. This meant that each time the horizontal position was adjusted, the vertical position also changed slightly! This prolonged the time taken for adjustment work. It is worth reflecting on the importance of the person who designs the machine understanding how it will be adjusted.
The image shows how the adjuster plates for the rolls are located with screws in two slots. These same screws are loosened to adjust both the horizontal and vertical.
The level made it incredibly quick to check the vertical position after each adjustment. During the last measurement these measurements were saved to the report by connecting the level to the laser measurement system's display unit.
As anybody who measures and aligns rolls know, access to the machines is often restricted. This was also the case here. For one of the upper rolls, the detector bars had to be extended by one meter to get a clear view. This is when an extra set of bars in the tool box can make the difference between success or failure in your day at work.
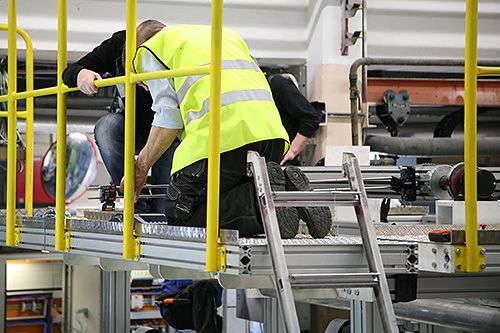
In order to get a clear view of the detector for one the rolls, the bars needed extending by over one meter.
Something that is not found in the tool box, but helpful to have, is imagination. This was needed for one of the rolls, which was covered in short bristles. The surface was uneven and not magnetic. The slide fixture with a chain around the roll was used for the horizontal position. The feet could then firmly stand between the bristles during measurement. For the vertical position and machine level, a normal spirit level was brought in from the factory, which conveniently had a concave surface that fitted the roll's profile. The electronic level could then be placed on top of it. It should be added, of course, that this roll did not require precise adjustment.
To conclude, we can say that it is the task of the technicians to understand the problem and solve it, not the measurement system, but a flexible measurement system can be vital to providing solutions. The expandability and adaptability to different measurement tasks offered by Easy-Laser® is appreciated by many measurement and alignment technicians. It is also the technician who must understand and determine how accurately the work is to be done, obviously with the given tolerances as part of that decision. Patience is also frequently needed, and we would like to take this opportunity to thank the staff from the machine firm that built the stand for all their help during the adjustments.

