Compressed gas is used everywhere. While there are several different types of compressors to pressurize gas, here we will talk about the reciprocating type which is widely used in all types of industry. Laser measurement and alignment of these types of compressors is essential both during the installation phase and to ensure reliable operation for many years.
Manufacturers of large reciprocating compressors have clear guidelines for how the equipment should be installed and maintained for best performance. And with laser alignment equipment, you can perform 90% of the measurements that are required:
– Measure flatness and level of the top plane of the compressor frame.
– Check main bearing and connecting rod bearing clearance.
– Check connecting rod and crankshaft thrust clearance.
All this can be done with a single system, the Easy-Laser® XT770 GEO, which gives the technician full control of the whole process. After installation you need to perform these checks with regular intervals.
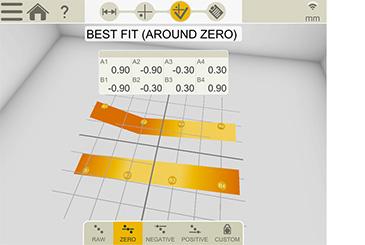
For any machine that contains rotating parts, it is essential that the foundation on which the machine is placed is completely flat and level. To perform this type of measurements, the Flatness program should be used together with the XT20 or XT22 laser transmitter and the XT70 measuring unit.
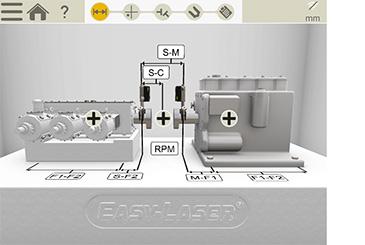
Soft foot is a condition that must be avoided, since it can cause great damage to bearings, shafts, and other parts of the machine. The occurrence of soft foot can be detected within the Shaft alignment program. Once you have checked and taken the necessary action to fix any soft foot problem, shaft alignment between the driver and compressor can take place using the XT770 shaft alignment equipment.
The mounting surface of the top cover on a compressor frame is precision-manufactured to be flat and aligned with the main bearing bores and the bottom of the compressor feet. To ensure the best running conditions for the compressor main bearing and crank shaft, it is important to measure this surface, so it is aligned within the recommended tolerances.
The mounting surface essentially consists of two rails which are measured using the XT20 or XT22 laser transmitter and the Flatness program (the same as when measuring the foundation). The number of points you need to measure is determined by the compressor manufacturer.
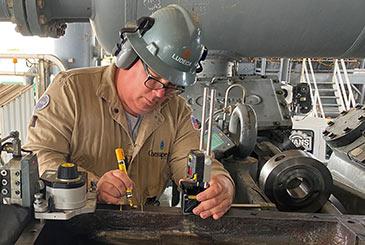
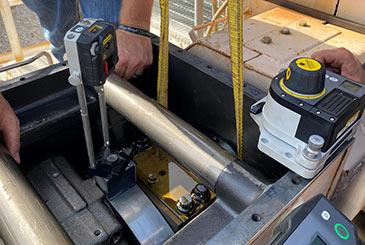
Bearing clearance refers to the space between the shaft and the bearing surface which is filled with lubricating oil. It’s important to keep this within tolerance to avoid bearing failure. On the compressor, we need to measure the main bearing clearance and the connecting rod bearing clearance. The clearance space is measured by lifting the shaft/rod and measuring the gap.
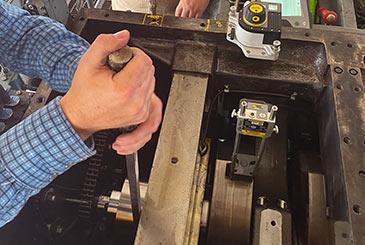
We also need to check that there is no excessive thrust in the crankshaft or connecting rod, which could cause serious damage to bearings, pistons, or other components. We do this by measuring the horizontal movement. We mount the detectors, set them to zero and then by using a prey bar, we force the crank shaft to move axially to its end. Then we record the travel which is our clearance. Engine thrust is measured in the same way.
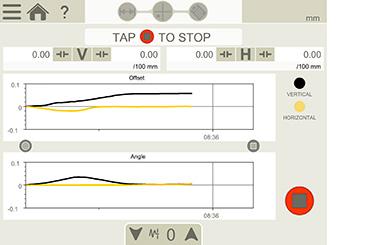
A dynamic measurement is conducted while the machine is running, to check whether there are any external forces that can have a negative effect on machine performance. This can be for example pipe strain or thermal growth. A dynamic measurement check is done using special brackets and the EasyTrend program. The brackets are placed on the machine and measurement values are recorded during a set period of time. This will reveal if there is any unwanted angle or offset movements that need to be corrected.
Once all measurements and adjustments have been made and the compressor is up and running, it is important to establish a routine for regular maintenance. Large compressor manufacturers recommend that you perform bore alignment verification, engine thrust measurement, shaft alignment and dynamic measurement every 4000 hours. And every 8000 hours you need to do an even more thorough check. Be sure to always follow the manufacturer’s recommendations. And if you have any questions, don’t hesitate to contact us!

