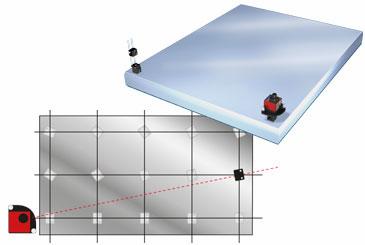
A basic prerequisite for machine installation is that the base is flat. It is also a requirement for machine tables, so that manufactured parts then maintain tolerances. Flanges on tower segments for wind turbines are also checked for flatness, but here the requirement can be linked to a desired inclination of the plane (taper).
First, the laser beam is roughly aligned along and across the measurement object. The detector is then positioned on the selected measuring points and the values registered. According to the measurement, three of the measuring points are set to zero, and the other points are recalculated for the newly created reference plane. The measurement values at the other measurement points will show the deviation from the laser plane.
The laser beam is adjusted according to the vials on the laser transmitter, and the measurement value at the first measurement point is set to zero. The measurement values at the other measurement points will show the deviation from the horizontal plane.
