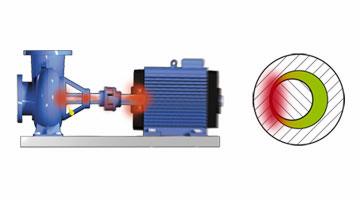
Incorrectly aligned shafts and the consequences of this are behind more than 50% of all malfunctions in rotating machines. This increases unscheduled downtime and therefore production losses. This, of course, increases overall maintenance costs. In addition, misaligned shafts increase vibrations and friction, which can increase the energy consumption considerably and cause premature bearing and seal damage.
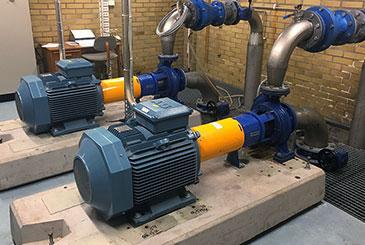
Rotating machines are usually described according to how they are connected to each other. Most common are horizontally mounted machines, usually a pump and motor. The machines can also be positioned vertically in some circumstances. Another type is offset mounted, or cardan-shaft-coupled machines. These often have some type of drive, for example rolls in a papermaking machine. Often several machines are connected in line, so-called machine trains, for example a gearbox between engine and the driven machine.
A modern shaft alignment system can measure all the above types of machine. It also has important functions that aid the user in obtaining faster and better results:
Improved performance and reliability
Better working conditions
Lower operating costs
All of this adds up to greater overall savings and a more efficient operation.
The required accuracy depends mostly on the types of machines you have and the speed. Generally speaking, ±0.05 mm for the offset value (at 1500–3000 rpm). However, it is important to refer to the machine’s or component manufacture’s specifications regarding this. That the coupling manufacturer specifies that their couplings can handle an incorrect setting of a few millimetres means, in principle, nothing regarding how accurately you need to align. This flexibility is to compensate for misalignment and forces during the start-up phase. When the machine rotates at the correct speed and temperature, it must still be correctly aligned. Otherwise seals and bearings are put under pressure by misalignment forces and wear out more quickly than necessary, even if the coupling lasts longer. Different couplings cope with misalignments better or worse depending on their design.
Many people wrongly believe that cardan-shaft-coupled machines do not need to be aligned as accurately. But an angular error in these machines causes a non-linear motion, which causes forces and vibrations in bearings, couplings and seals. In other words, shortens the service life. Make sure, therefore, that these types of machines are aligned correctly.
For all types of measurements, nothing is better than the conditions they are performed in. Regardless of the type of measurement system used. External factors such as temperature, air movement, dust, vibrations and measurement distances all affect accuracy. It is therefore important that the person who carries out the measurement is aware of these factors in order to be able to interpret the results correctly. The laser measurement system’s own resolution is, however, always 0.001 mm.
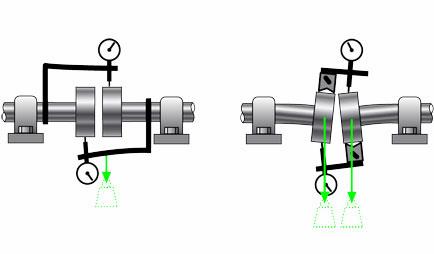
Lasers are considerably easier and faster than dial gauges. Dial gauges often require experience and sometimes complicated calculations to be used. Because a laser measurement system can automatically compensate for thermal growth and indicate a good alignment, i.e. is within the tolerances for the relevant machine, no more time than is necessary is taken up for the alignment. Setting up a laser system for measurement on a machine takes a fraction of the time it takes for dial gauges and is much more reliable. For example, fixtures for dial gauges always drop a little, which affects the accuracy of the gauge’s displayed value. Play and clearance can also easily occur in mountings. Another factor that can affect the alignment result is the fact that gauges often have small scales and are difficult to read in poor light conditions.
Rulers and dial gauges are not a sufficiently accurate method for today’s modern machines. Using lasers always gives the same results regardless of who takes the measurements. The possibility of documenting the alignment results gives better control over the machines over time, and therefore greater assurance. The difference is also that in using a laser based alignment system the machines are actually checked. This is because checks are so easy and fast to carry out. The speed of use and the precision in alignment means that investing in a laser based shaft alignment system usually pays for itself within 3-6 months.
To find the system that best suits your needs, visit the shaft alignment systems page.


