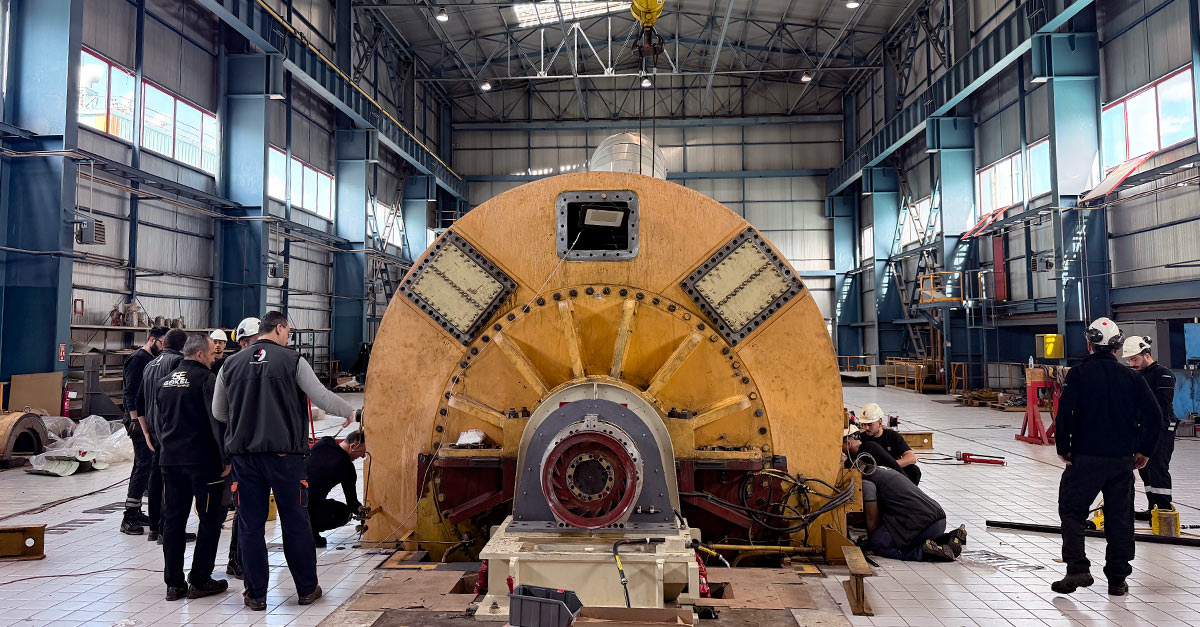
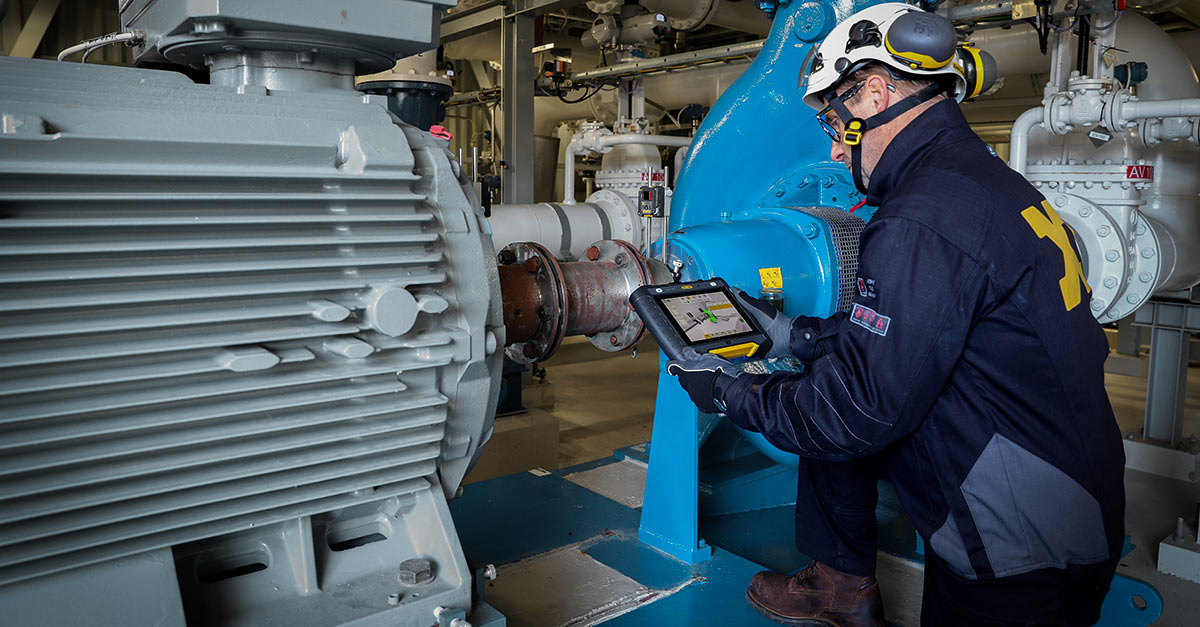
The five measurement methods are 9-12-3, EasyTurn™, Multipoint, Continuous sweep and the latest addition, Uncoupled sweep. Here we describe them individually, so that you know when best to use them.
Method 1: 9-12-3
The clock method, or 9-12-3 as it is also known, is the origin of all shaft alignment. Anyone who knows how to use analogue dial indicators will recognize this method. A dial gauge is mounted on each shaft, and the measurement values taken at three different points, corresponding to the 9-12-3 positions on a clock, or the angles 0-90-180 of a circle. It is based on geometry (and trigonometry), more specifically circle mathematics. The mathematical assumption is that if we can measure the semicircle, we can then work out what the whole circle will look like, and consequently determine the centre of the circle (rotational centre) for both shafts. These centres can then be compared to each other and we can thus work out how well-aligned the machines are to each other. And with a laser-based measurement system, also obtain direct feedback from the adjustment of the machine in real time.
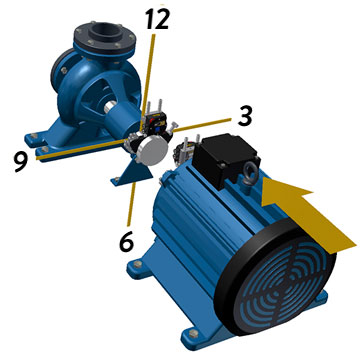
The rotation of the measurement devices around the shaft is similar to that of a clock; positions 9, 12, 3 and 6.
When should this method be used? One answer is that this method can always be used when you are able to rotate the shafts freely, and there are no other physical obstructions preventing you measuring from the 9-12-3 positions. However, the restriction is that you must position the measurement devices at 9-12-3 as accurately as possible, and that the system does not use the built-in inclinometers to calculate the position (in other words, you must check this yourself).
There is, however, one application when you must use the 9-12-3 method; during shaft alignment on-board sea faring vessels. This is because the inclinometers would move in conjunction with the vessel's movements on the waves, potentially corrupting the collected measurement values. We therefore recommend using the 9-12-3 method as the inclinometers are switched off.
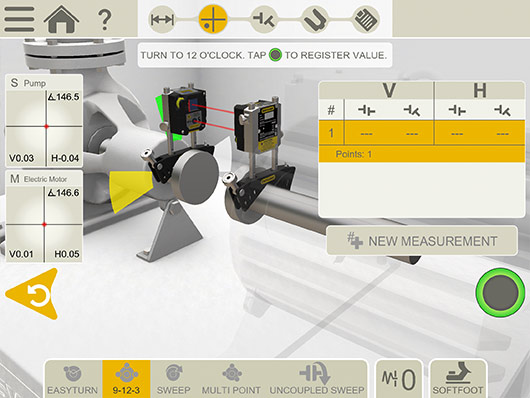
Measurement method 9-12-3 – the origin of all shaft alignment.
Method 2: EasyTurn
EasyTurn is a unique further development of the 9-12-3 method, with the freedom to choose at which clock position (which angle) you start collecting measurement values. With the help of some mathematics, we can also restrict the total measurement range to 40 degrees full rotation. From a practical point of view, this means that you can use this method where there is limited possibility of rotating the machines, due to the lack of space around the shafts.
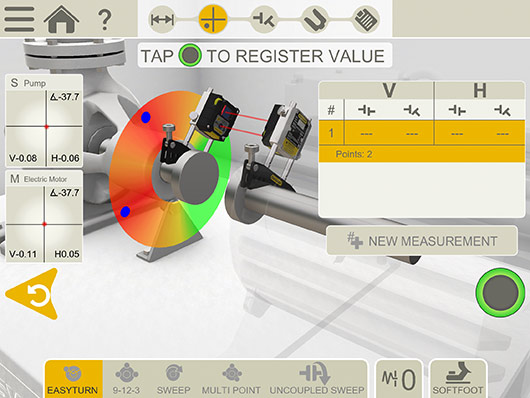
Measurement method EasyTurn offers down to 20° between measuring points. Great when machine protection or pipes prevent precise positioning according to the clock method.
Method 3: Multipoint
Multipoint is, in turn, a further development of EasyTurn. Multipoint also means that you can start collecting measurement values from any clock position (angle), and complete collection across as small a rotation as 40 degrees. However, as the name suggests, this method means that values are collected from more than three points.
This is advantageous if taking measurements from larger machines where it is difficult to rotate the shafts. Collect the measurement values across a shorter rotation to increase the mathematical probability of obtaining good measurement values. This method also gives a quality evaluation of the measurement series. The evaluation takes into account shifts in temperature, measurement direction and number of measuring points.
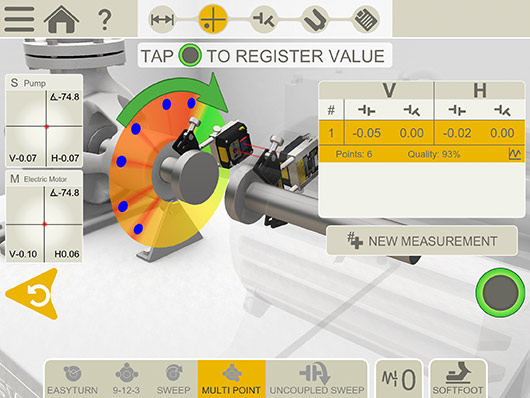
With the Multipoint method, several points around the shaft are registered, which allows the measurement quality to be evaluated.
Method 4: Continuous sweep
Continuous sweep can be described as Multipoint with automatic, continuous measurement value collection. In practice, this means that you can collect measurement values continuously with the measurement devices in motion. I.e. you start measurement value collection (at any clock position/angle) and then rotate the shafts without stopping, in one direction. Continue until you have collected enough measurement values to achieve a good quality calculation (quality evaluation is also performed here just as in Multipoint).
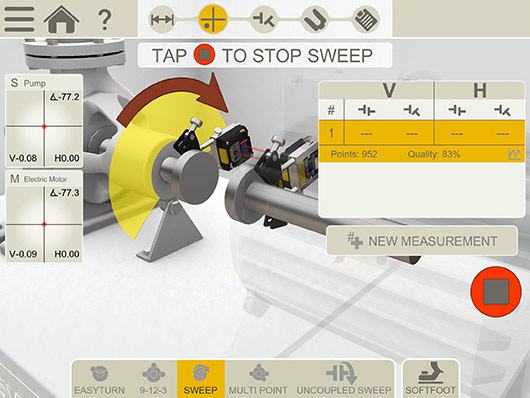
Continuous sweep is best used when it is difficult to stop the machines to register measurement values.
At the end, the shafts' rotational centre is calculated and presented graphically. This method is very useful where it is difficult to stop the machines to take stationary measuring points, for example, when aligning large turbines.
Method 5: Uncoupled sweep
Here is a method that, as the name suggests, allows you to measure machines where you are required to align uncoupled. You rotate one shaft/unit at a time and let the beam pass over the other (stationary) unit. As one unit passes the other, the value is automatically recorded and the stationary unit is then moved to the next position. You can start anywhere on the turn and register an unlimited number of readings.
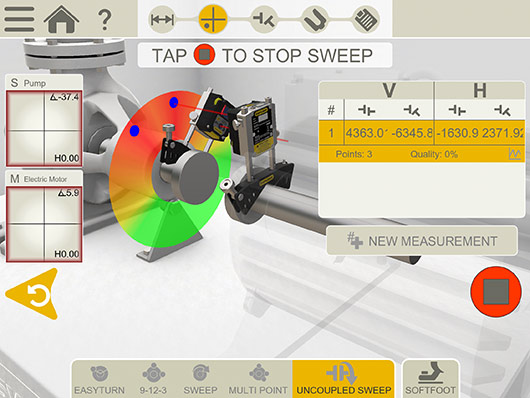 The Uncoupled sweep method is especially useful when only one (or none) of the shafts can be rotated manually.
We hope you now have a clearer picture of the various measurement methods and when best to use them. If you download our free XT Alignment app you can try them all out in demo mode! The app is available in Google Play or the App Store.
(All methods described in this article can be used with all XT shaft alignment systems, except for XT440 which features 9-12-3 and EasyTurn only.)

