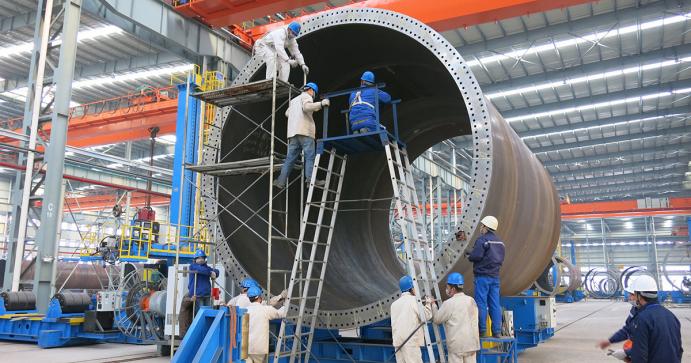
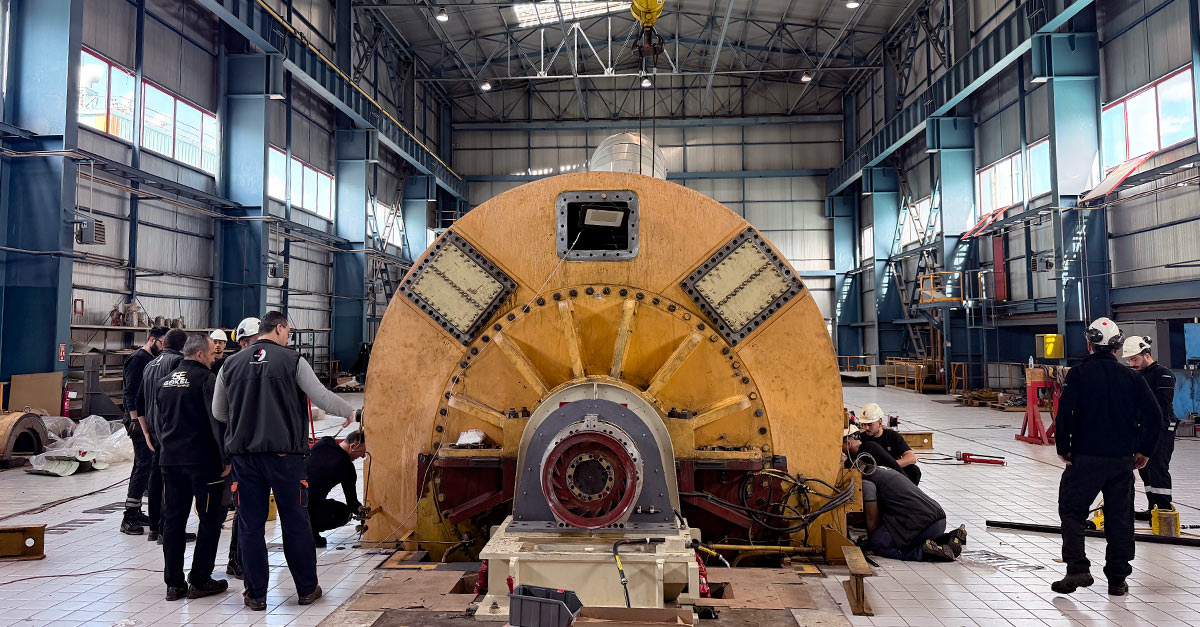
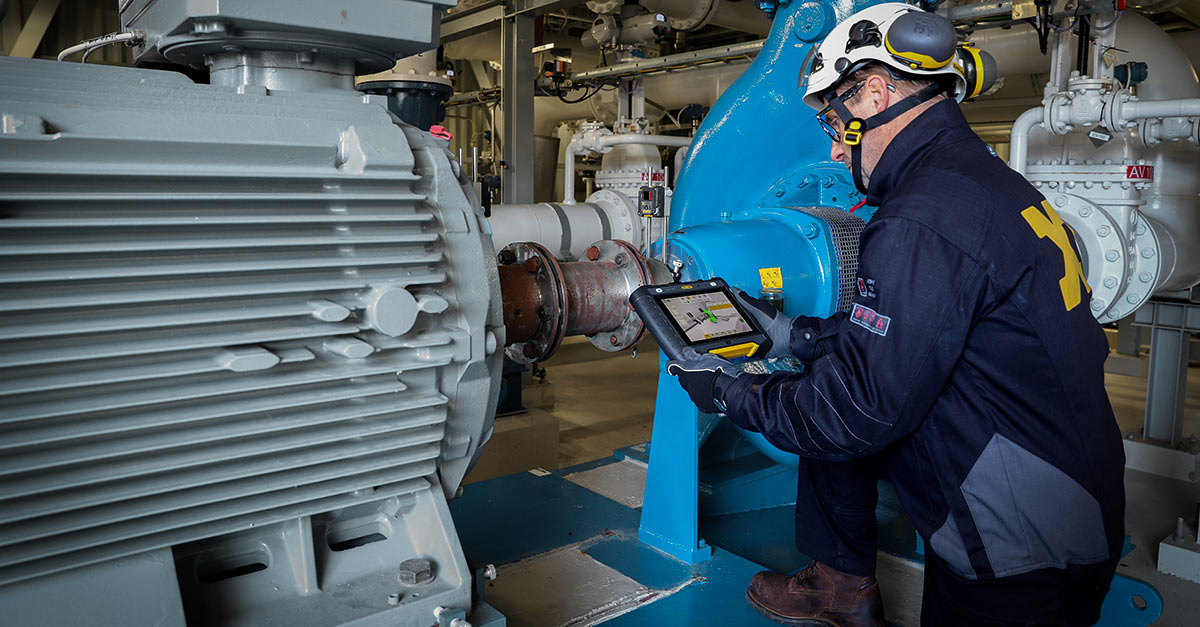
Our patented method is based on sectioned measurement of the flange. It has been specially introduced for measuring really large tower flanges with diameters exceeding 4 meters. With wind power stations and towers getting ever larger, usually over 6 meters in diameter, new problems arise when using old measurement methods. This is because the tower section's own weight, sometimes up to 200 tons, can deform the flanges (see figure below) when the tower is laid down, which in turn causes the measurement results obtained during production not to fully correspond with the final form assumed by the flange when the tower is raised. The problem with gravitational related deformation occurs particularly if the tower section is conical in shape.
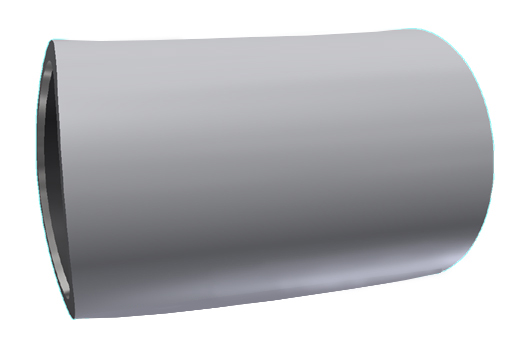
The tower's own weight deforms the flange, which can give rise to measurement uncertainty.
This is how it works
The solution is, simply expressed, to measure the entire flange in four sections, one at a time, and always in the lower position. The flange is actually intact, but the tower is rotated a quarter turn between each measurement. Finally, the measurements from the different sections are joined mathematically to form a complete circle, and the flatness can be verified as if everything is measured simultaneously, but without the influence of gravity. The result thus corresponds to what is expected when the tower section is positioned vertically.
That's the trick!
Also solves safety issues
The section measurement method also resolves a personnel safety issue when measuring large diameters; as the tower is rotated, the entire measurement can be performed at ground level. This eliminates the risk of falling that otherwise exists when work is carried out at height from ladders or platforms.
Easy-Laser can measure all types of flanges
Some types of towers are divided by length into two or three parts for easier transportation. Consequently, suitable measurement methods are also required for these. Easy-Laser systems come with three measurement methods for flatness measurement: entire flange (360°), part of flange (e.g. 1/3 of the flange) and the aforementioned section method. For each angle of the turn, up to 5 radial positions can be measured (see figure below), i.e. the flange is measured at up to five radii.
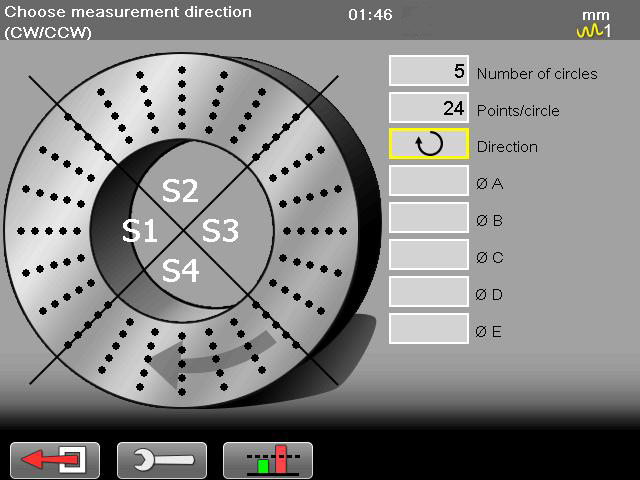
Up to five points on each radial angle can be measured, to check the flange surface angle against the centre (taper). Image from the section measurement program.
The results of the flatness measurement can easily be compared to the preselected tolerances for each tower type. The measurement results can be read off directly from the instrument and can also be sent to a PC for further analysis. The instrument also creates PDFs that can easily be copied to a USB memory.
The section measurement method is patented in Sweden, Germany, China and USA.
Here you can watch a video of how it works!
Find out more about our flange measurement system.

