Hot and damp, inland Brazil
The gas power plant is located inland Brazil. For those of you who have ever been to Brazil in the summer know it is a very hot and humid place. One of the initial challenges for this alignment job was getting to the site within the set time frame of one week. Firstly to locate the resources, equipment and personnel, and then to get them there on time. Our Application Engineer, Mr. Prosper Chekroun, never denies a challenge and within a couple of days from the initial call he hopped on a plane to Sao Paulo. From there he had to fly inland and arrived late afternoon on site.
Tops on or off? That is the question.
The job in this case was requested by the customer as a tops off alignment job of a Frame 6 GE turbine. Of course, when Prosper arrives on site the turbine casing is on, this turns out to be a tops on job. This would require some ingenuity on Prosper's side as he wasn’t carrying the right equipment for this job. More on this later on.
 Compressor stage
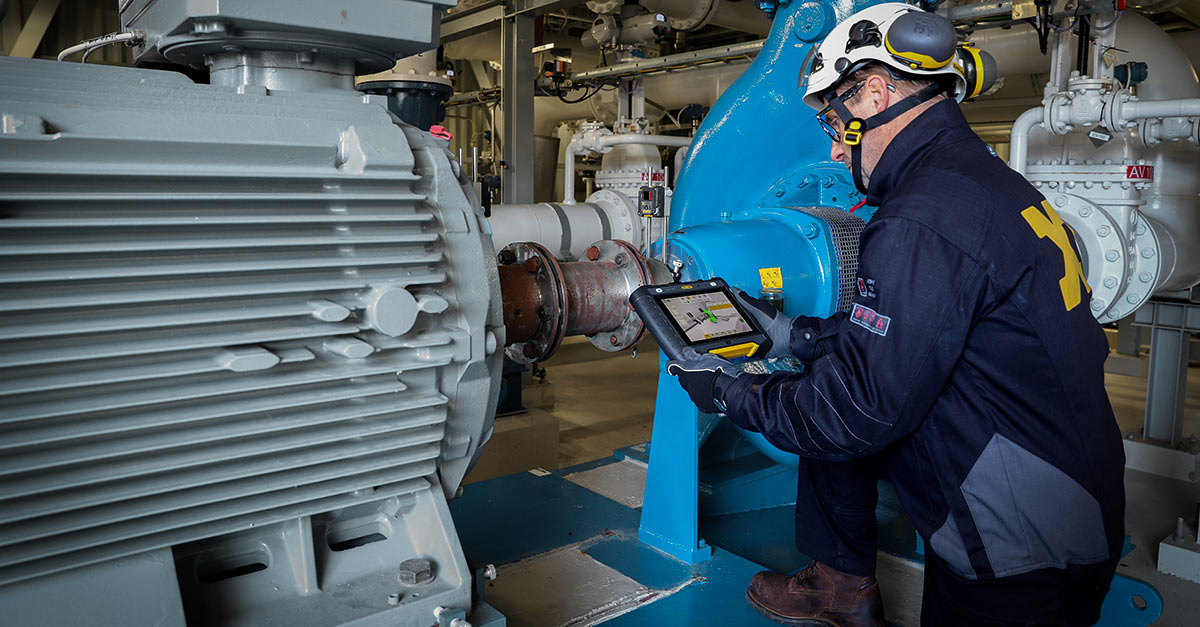
The first part of the job is to measure bearing 1 to be used as a reference together with the turbine housing. Using a standard E960 turbine alignment system from Easy-Laser® Prosper setup the laser transmitter and used a sliding bracket to collect multiple points and calculate the center of circle.
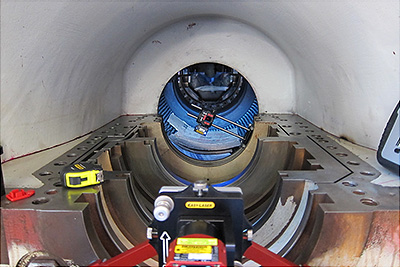 Measuring bearing pockets using an Easy-Laser® alignment system.
The solution
The difference between a tops on and tops off alignment job (from a measurement standpoint) is that in a tops off you have access to a reference surface (i.e. the split casing) to mount all your support beams off of. In tops on you do not have access to this surface and this presents a challenge. In this case the onsite mechanical shop could manufacture a support that could be mounted inside the turbine casing and be used as the reference surface to mount the support beams off.
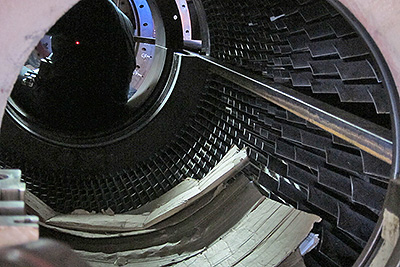 Support mounted to the right.
This support meant that the technicians could now use a standard E960 alignment system to measure a tops on turbine. A lot of the heavy lifting was done by the local support crew who had to crawl in and out of the turbine to perform the measurements, a total of 10 measurements per circle, at a total of 28 points. In the compressor the average axial distance between points was only 40 mm.
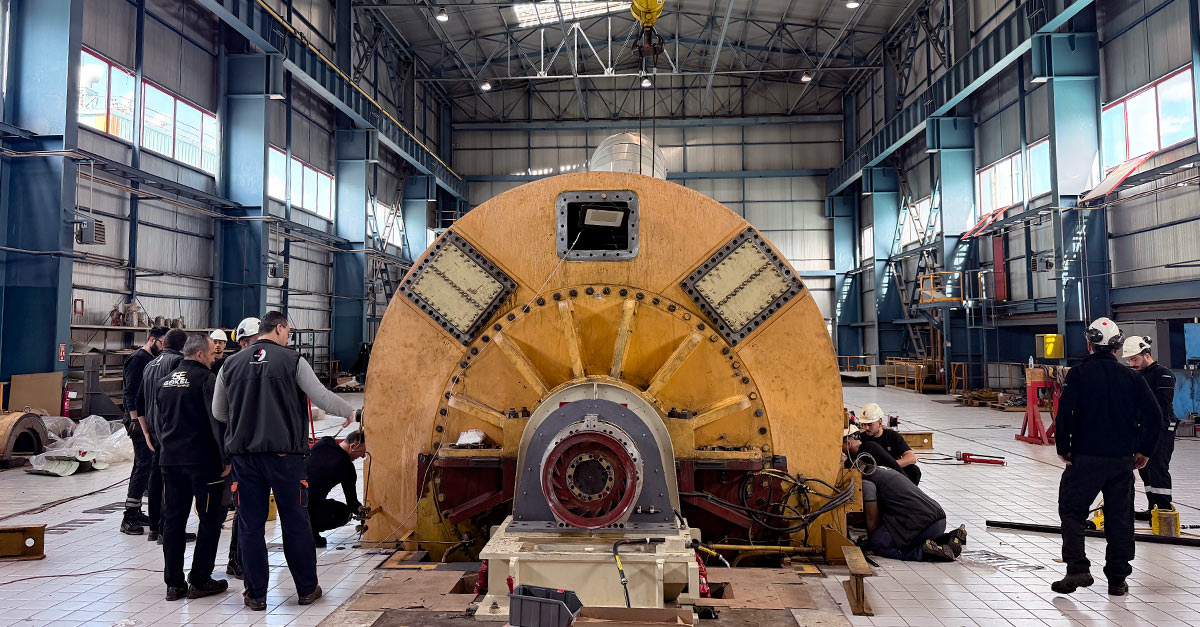
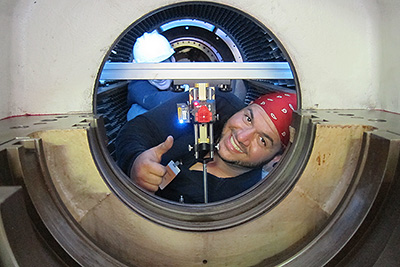 The local crew did a lot of the “heavy lifting”.
Results
Using a laser in the alignment process proved to be very efficient compared to traditional methods. Time was spent aligning the turbine instead of setting up and taking down measurement equipment inbetween. With the Easy-Laser® E960 Prosper was able to confirm the positions and repeat down to within a couple of hundreds of a millimeter. What first looked like a complicated job turned out, with a little ingenuity, to be possible. This of course resulted in a pair of very happy engineers.
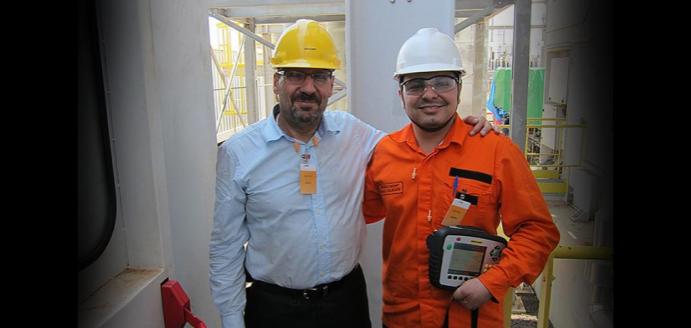
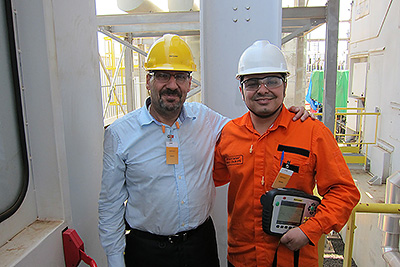 Two very happy engineers, on the left Prosper Chekroun of Easy-Laser®.

