Altus, a Gothenburg-based company that works within electronics production, is all too aware of just this. They have seen an increase in demand over time, which has meant that they have invested in another production line. The new line consists of several machine sections for different procedures in the manufacturing process. The machine was delivered to them, and they set it up in the right place and roughly aligned it. They then asked Easy-Laser to come and make more accurate measurements. Peter Fant from Altus was familiar with Easy-Laser from a previous job at another company and contacted us for assistance.
Jan Lindström and Sofia Andén took the assignment for us. Sofia explains:
”We visited the site before carrying out the measurement task. At that point, we made sure that we understood what they wanted help with and could assist. They wanted us to perform straightness measurements through the different production line sections and to check that the units were level. We decided to return and carry out the actual measurement the following week.”
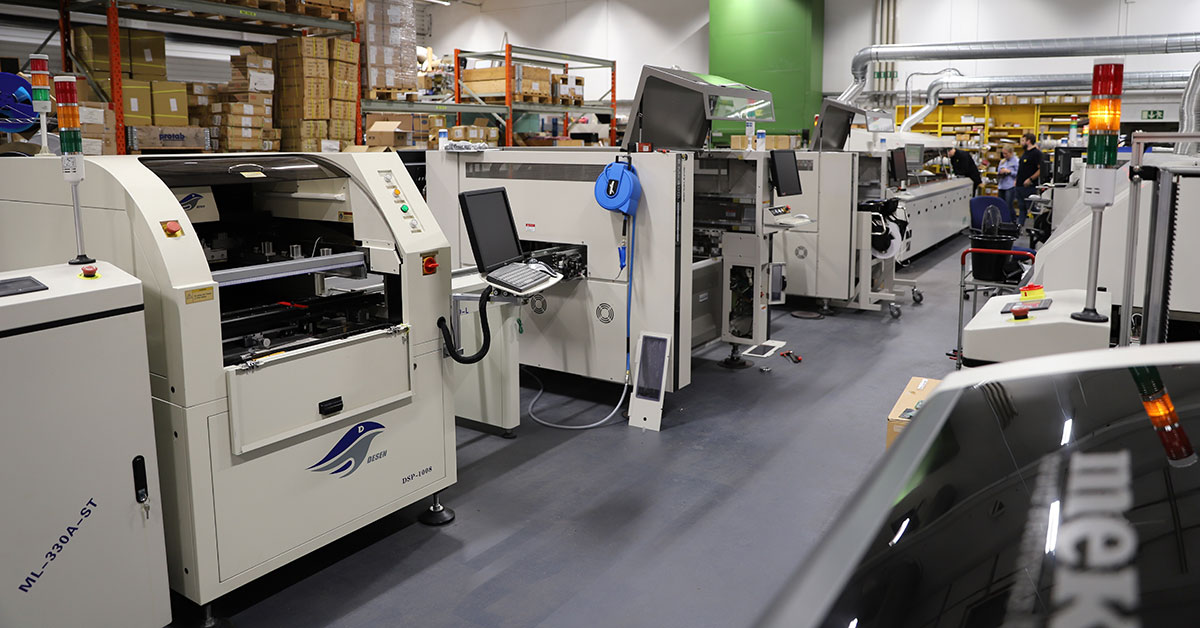 The production line consists of several separate units.
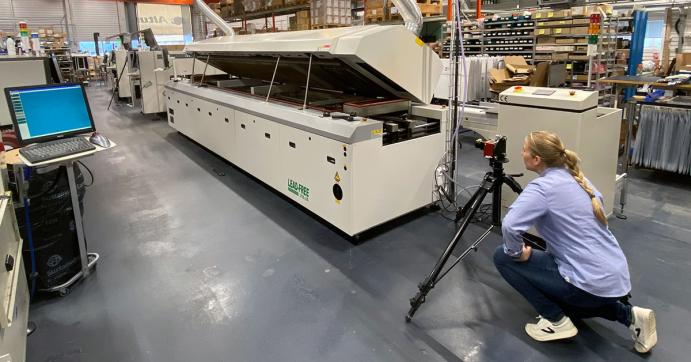
For the measurement task itself, we were assisted by Rasmus from Altus, who, as the operator, was familiar with the machine's function and knew where we could make adjustments. It is crucial that the customer is onsite for this type of assignment. Towards the end of the process, however, an unexpected problem cropped up. Sofia explains: ”When we measured the final machine section, we were unable to repeat the measurement result. We investigated and concluded that the probable cause was a damaged machine foot. Altus had just purchased that part of the machine, and it was more than likely that it suffered some damage in transit.” Altus ordered new machine feet, which solved the problem.
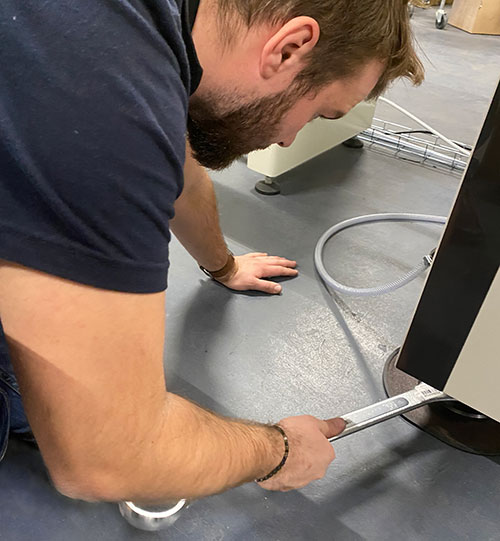 Rasmus from Altus adjusted the machine to the correct position.
We used laser transmitter D22 with detector E9, as well as precision level XT290 for the measurement assignment. The E9 detector was used because there was limited vertical space in certain places, and as low a detector as possible was required.
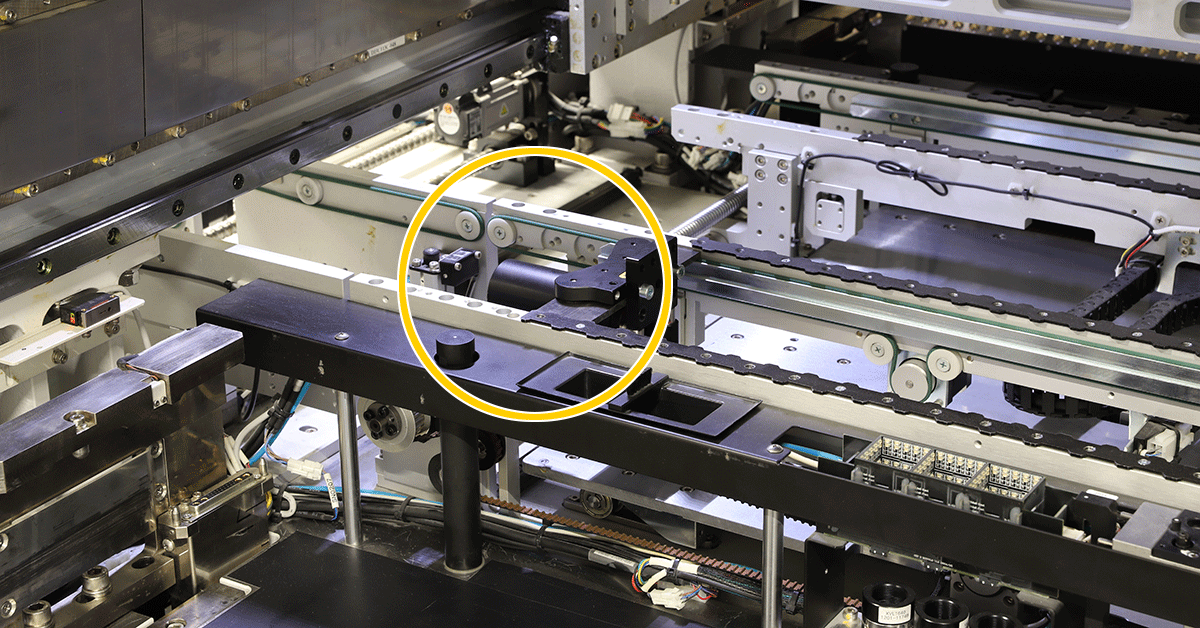 Detector E9 was used in this instance because space was limited in several places. The standard brackets are very versatile and, in principle, allow endless mounting combinations, which is a plus for challenging measurement jobs.
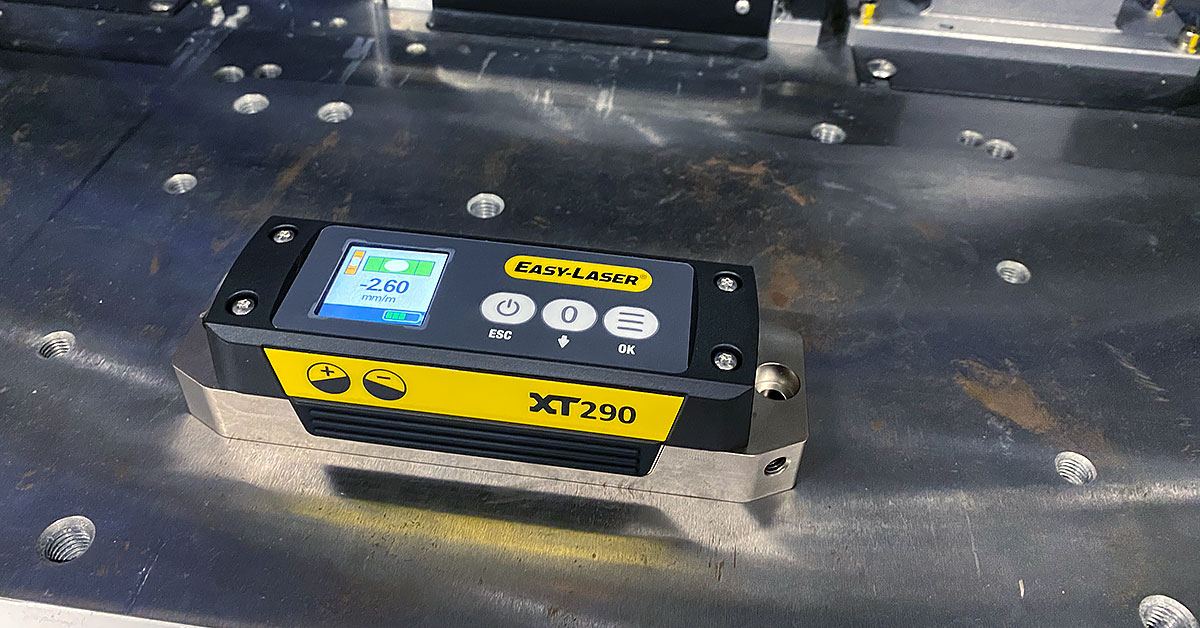 Easy-Laser XT290 Digital precision level was used to level-adjust the machine.
So, what was the result? One pleased customer. Or in Peter Fant's own words:
”Suuuuperduuuper!! My colleagues and I thank you for the excellent attention and service! The production line is now completely finished, thanks to you!”
The machine supplier later came and calibrated the machine, and the new production line started manufacturing shortly afterward. As a result, Altus can now meet the increase in demand.
Sofia adds ”a few words” in conclusion:
”Taking your time to measure and align the machine at installation is always a good idea. It ensures uptime and increases the probability of problem-free production. Fundamentals like straightness, flatness and level are critical when setting up a machine. In this case that all the individual machine units are level and aligned with each other.”
Find out more about Altus!

