When you are selecting a laser measurement system, which factors do you consider? Of course, one aspect is what you are going to be measuring and aligning, so there must be software to meet your needs. You may look at battery life, to be sure that you can work a full shift without breaks. Depending on the environment in which you are working, you may require better dustproof and waterproof properties, such as IP67. Or intrinsically safe systems for potentially explosive environments. Which underlying technology is used may also be of interest, as this can restrict your options. For shaft alignment, both line and dot lasers are available as alternatives.
A line laser delivers a large measurement range at a relatively low cost, as well as being very easy to use during shaft alignment on machines without major fault sources. A line laser is also ideal for belt pulley alignment. For maximum precision, long distances or geometric measurements such as straightness and flatness, however, a dot laser is the only option.
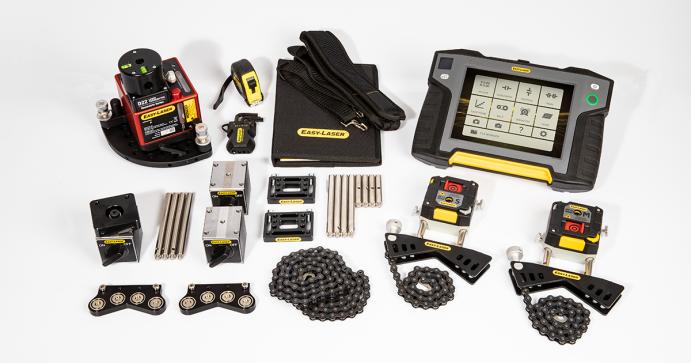
If we break the system down, it is principally made up of four components: laser transmitter, detector, brackets and software/display unit. What should you be thinking about?

1. Laser transmitter
A laser transmitter may have an apparently simple design. However, in order to achieve the stability and precision required by industrial applications, a great many hours of design work are needed. In this situation, mechanics and optics interact at the highest level. Depending on the intended area of application, there may need to be various types of light-focusing optics, various solutions to enable sweeping of the laser over a surface (rotating), various options for aligning the laser beam horizontally or along the measurement object, etc. That’s why the design can vary so much. As it is always the laser beam that is the reference for the measurement you are performing, it is naturally extremely important for you to be able to trust that the transmitter can be installed in a stable manner.
For geometric applications, the laser is a separate unit. Easy-Laser’s shaft alignment system has a laser and a detector (see PSD below) built into the same housing. We refer to this as a “measuring unit”.

2. Detector
The next unit in the measurement system is the detector. It has a PSD detector (Photo Sensitive Device) that reads off the position of the laser beam on its surface. A PSD that reads in two dimensions/axes (X/Y) at the same time is more expensive than a single-axis unit. The larger the surface of the PSD, the larger measurement range you have. First and foremost, I am referring to what can be compared to “stroke length”, i.e. how much the position of the measurement objects can be permitted to vary. However, as a laser beam varies in diameter according to distance, a larger PSD may also be required in order to measure at very long distances. These applications are less common, however. Easy-Laser has a square 20 mm PSD as standard, which is sufficient for an estimated 98% of all users. If something that needs to be aligned within thousandths or hundredths of a millimetre is incorrectly set by tens of millimetres, everyone will understand that there are other, fundamental problems that may need to be rectified first. As mentioned in the introduction, there are also detectors for line lasers. We use this for entry-level shaft systems in order to offer cost-effective solutions for those with more basic requirements.

3. Brackets
In order to measure correctly, transmitters and receivers need to be installed in a stable manner. This is where the brackets come into the picture. Our brackets have been developed against the backdrop of many years of experience from our own measurement tasks, as well as from dialogue with our users. They are designed to be easy to install on the measurement objects, at the same time as ensuring correct measurement values in all situations. They can also be adapted for many different types of machines. It may be worth giving this a little extra consideration if you carry out many different measurement and alignment assignments. You don’t want to be in a situation where you have no solution available, yet you don’t want to be carrying around tens of kilos of brackets unnecessarily.

4. Software and display unit
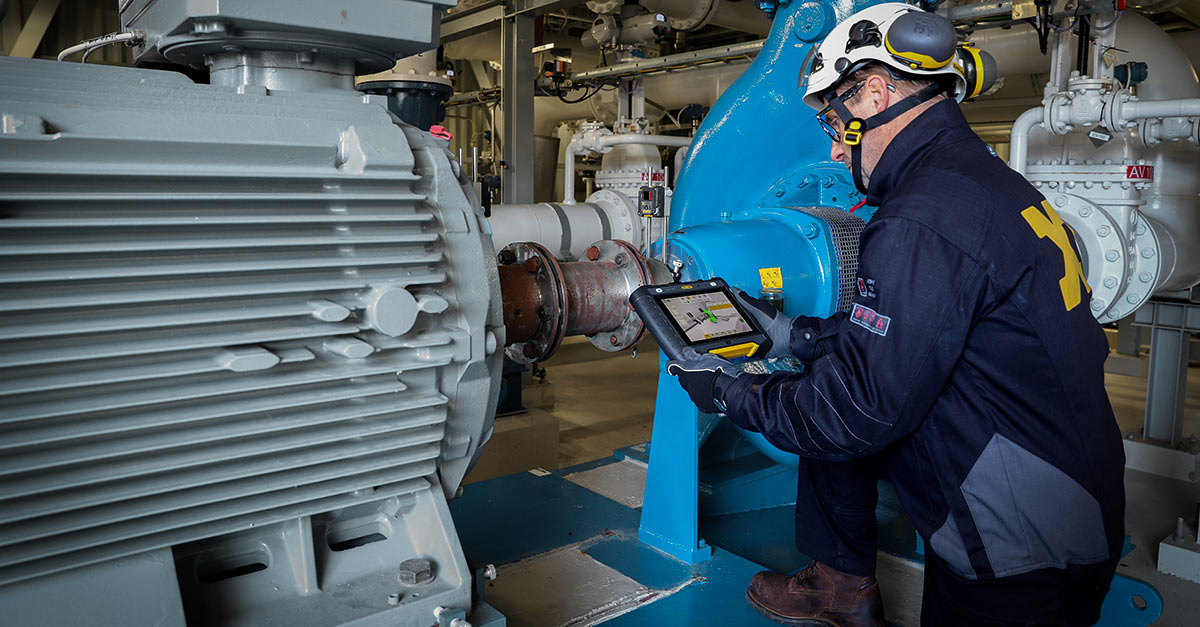
Nowadays, most user interfaces are in colour, with clear, attractive graphics that help the user to carry out measurement and alignment in the simplest way possible. Here at Easy-Laser, we have simplified the software and made it more user-friendly, for example by only having the most essential information visible. And the “cool” 3D graphics are more than merely decorative – they clarify the measurement process. Our XT Alignment app can be run on iOS and Android devices, as well as on our own robust XT11 display unit. The app can be downloaded free of charge for any number of devices. In order for all users to enjoy the best support during the measurement process, regardless of their prior knowledge, our measurement programs are available in 13 languages. The basic functions in the app are the same for entry-level through to high-end, minimising the need for training for those companies that have multiple systems.
Documentation of implemented alignment is a matter of course today. You must be able to export and share the report however you want, and if you can add images and other machine information, this makes things even clearer for the recipient.
Many technicians prefer to have a dedicated display unit for their alignment system, while others are happy to be able to use the same unit for various assignments within the operation. With the Easy-Laser XT, you decide which type of display unit is most suitable for you and the environments in which it is going to be used.

One more thing...
Finally, you can consider the various options in relation to service and support. Easy-Laser has service centres all over the world. We feel it is only natural for you to receive rapid assistance in the event of problems as well as when the system is to be calibrated (in my opinion, if a supplier claims that their measurement system will work for ever, in all environments, regardless of how it has been used, they are being reckless to say the least...). We understand that, as our customer, you are making a long-term investment and do not want to be exposed to expensive surprises during the product’s life cycle. So as well as ensuring that the measurement system's four vital components satisfy your requirements and wishes, you should also select a supplier who can support you from start to finish, year after year. For us at Easy-Laser and our distributors all around the globe, this is a matter of course.
PS. There are of course other types of measurement system, measurement systems that use other types of technical solutions as well as other measurement methods than those described above. For example, analogue dial gauges for shaft alignment. Your own knowledge about measurement and alignment is obviously another very important factor when it comes to doing a good job. But that’s another story...
Take a look at our product catalogue
rustan.karlsson@easylaser.com


