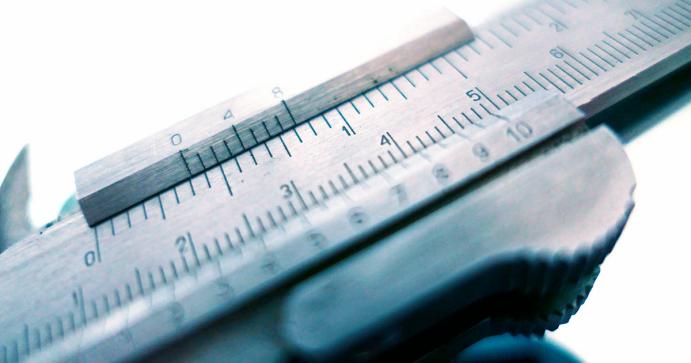
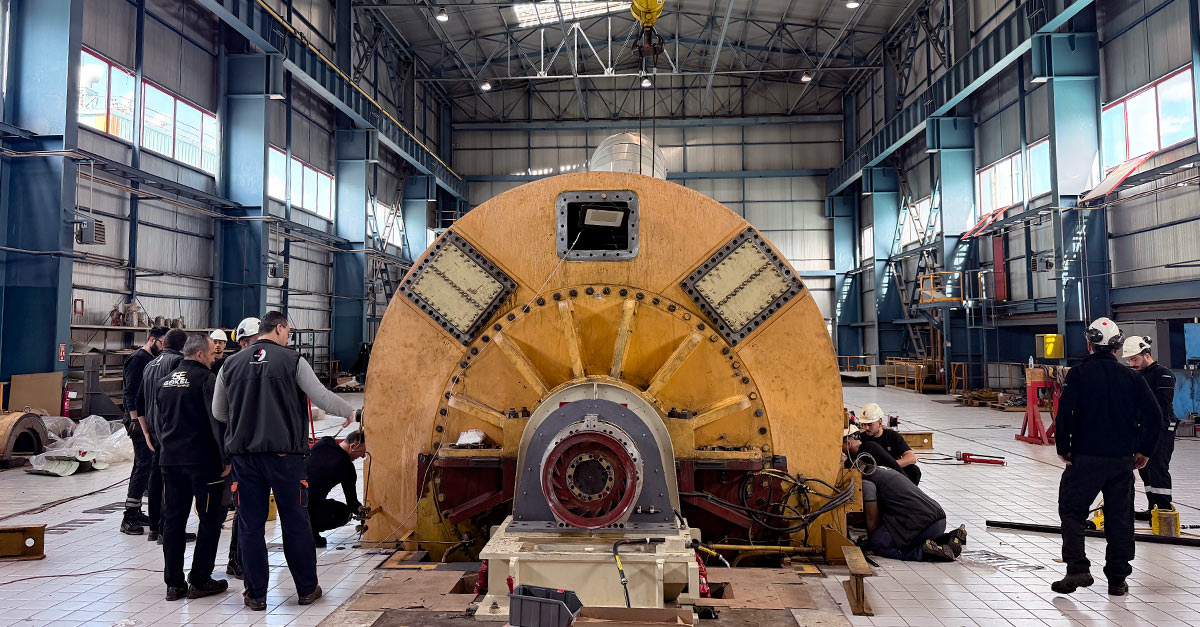
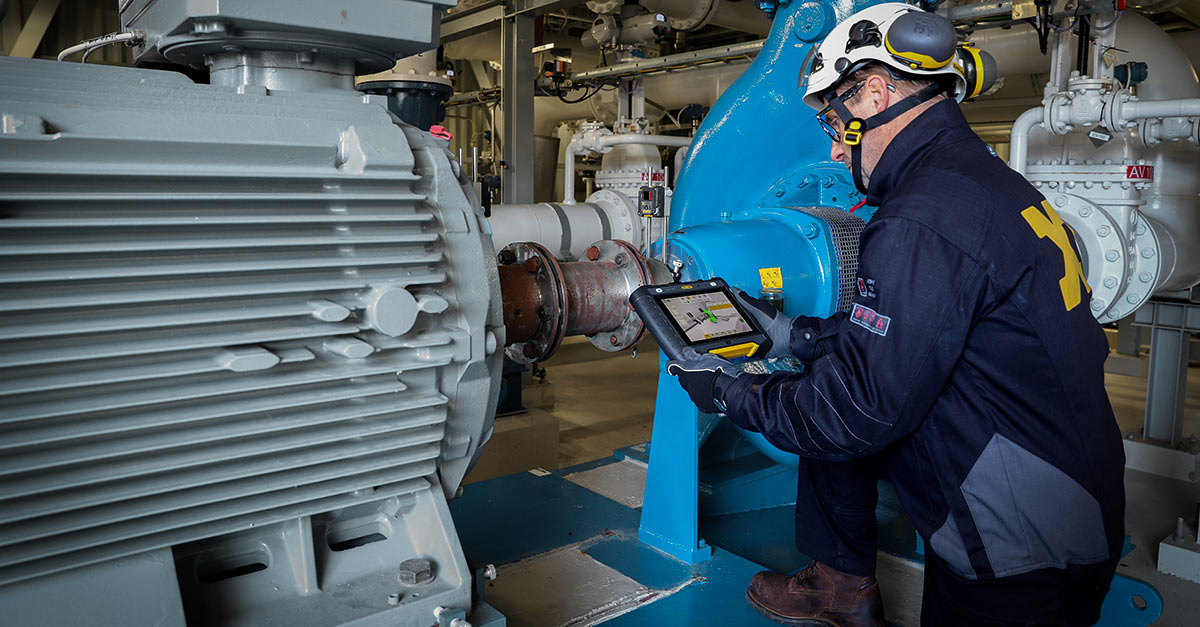
That particularly applies to laser-based measurement and alignment tools, because they must confirm that rotary machines are correctly set-up and operating in the best possible conditions. Unnecessary stoppages and complications that can affect production and lead to financial losses must be avoided. The user then has to put all their trust for preventative maintenance work into the laser measurement system.
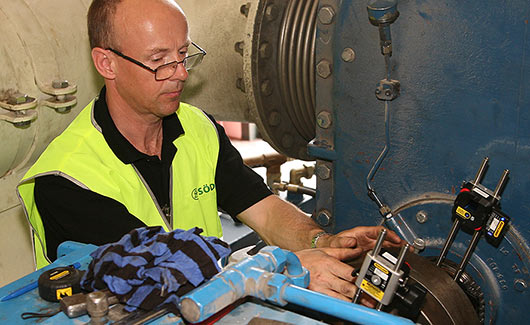
We humans go for health checks to check the important functions of our bodies, in order to diagnose, prevent and correct things in good time. A ”health check” is as important for a measurement system! The consequences of a poorly functioning laser system can, in the long run, result in many machines failing completely, which could lead to shutdowns in production if the machines are vital. Product quality can be affected, people can get injured, maintenance work can take longer etc. In today's modern production environments, we expect everything to work properly, and for planned maintenance work to take a certain amount of time; time is money.
How often should a measurement system be calibrated?
At Easy-Laser, we recommend that ”normal users” perform a calibration every other year. Those who work with high precision and ISO standards usually calibrate every year, according to internal requirements or requirements of a certification institute. Many of our distributors offer a rental system whilst the system is in for service, so that customers can continue their alignment work. That the measurement system is used a lot, is not an excuse for not sending it away for a calibration check, quite the opposite!
What happens to a measurement system during a calibration?
We and our certified service centres around the world all use the same step-by-step method to ensure optimum system performance during calibration and servicing. It always starts with the customer filling in an online service form. Possible faults are described as accurately as possible, as well as what actions are required. Usually a combination of servicing and calibration is required.
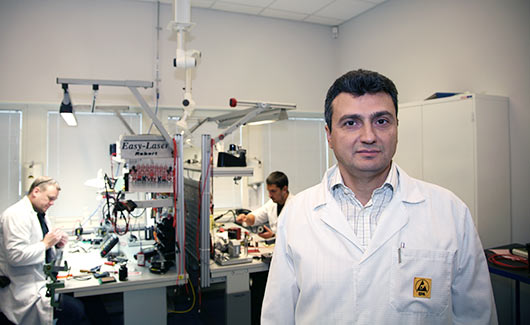
When the system arrives at the service centre, an arrival check is made, followed by cleaning and function checks according to a checklist:
- Serial number – check so that system parts correspond
- Correct charger, function check with the system
- Correct license, so that all new functions are available
- Software in display and measurement units, updated as necessary
- Check and adjustment of laser power
- Detectors check
- Communication check between devices
- System check – measure, save, create report
Once the system has been checked and approved, a calibration certificate is issued.
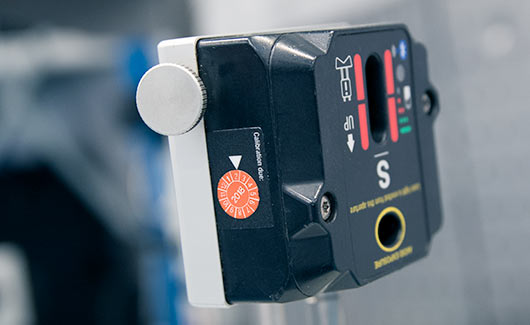
We issue a calibration certificate and attach a label to the affected parts that indicate the time for next calibration.
How long does a calibration take, and how much does it cost?
Calibrations take different amounts of time depending on the work load and type of system (belt, shaft alignment, geometry system). Systems are usually returned after 5–8 working days. Depending on the system, prices range from 800-1000 USD (year 2018), with local variations across the globe. Compared to the costs that may arise due to a production stoppage, or deliveries of improperly manufactured products, this really is an investment that pays off!
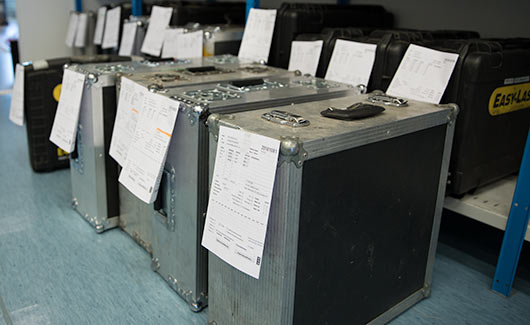
The Easy-Laser measurement system is returned in perfect condition, ready to carry out new precision measurements.
Eilif Johansen
Area Sales Manager
Easy-Laser AB

