Easy-Laser® XT550 - EX Shaft alignment
Easy-Laser® XT550 is built for safe and precise shaft alignment in potentially explosive environments. It has all the programs and functions you need to keep your machines up and running.
With the XT550, you can align horizontal and vertical/flange-mounted machines with ease and accuracy – even in hazardous areas. The intrinsically safe design of the measuring units complies with EX/ATEX standards. The system features soft foot check, tolerance verification to ensure alignment quality, and functions for thermal growth compensation. It also includes a program for checking twist of machine foundation
By adding accessories, the system can also:
For a list of all measurement programs and functions, please see the Features tab.
*The XT50 measuring units are EX approved which means they comply with the Essential Health and Safety Requirements relating to the design of products intended for use in potentially explosive atmospheres. Download certificate.
The featured programs below are the most common used with this system. Please click here for a complete overview of possibilities.
*=accessories needed
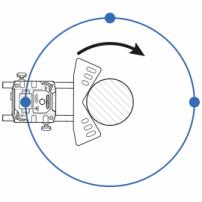
Measurement points are recorded at fixed points 9, 12 and 3 o’clock. This is the classic three-point method which can be used in most cases. The preferred method for situations where the machine to be aligned is mounted on a moving object, and it is not possible to use the inclinometers (e.g., on ships, cranes, wind turbines etc.).
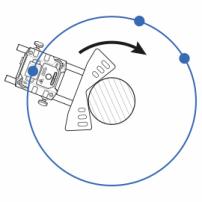
Ideal method for coupled machines where you manually rotate the shafts to any position. The EasyTurn™ function allows you to begin the measurement process from anywhere on the turn. You can turn the shaft to any three positions with as little as 20° between each position to register the measurement values. An easier-to-use version of the three-point method (see 9–12–3).
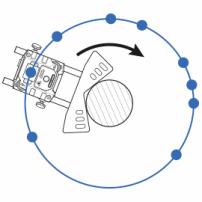
Multi point is basically the same as EasyTurn™, but instead you can record multiple points on the sector rotated. This will provide an optimized calculation basis. Perfect for e.g. turbine and sliding bearing applications.
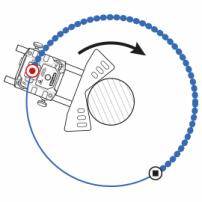
Automatic recording of measurement values during continuous sweeping of the shaft. The easiest and quickest way to obtain the alignment status on coupled machines. Hundreds of points are registered. Start recording, rotate, and stop at any angle and you get the results instantly. Quality check of measurement is provided.
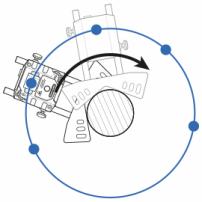
Used when the machines are uncoupled and when the rotation can be difficult to control. Rotate one shaft/unit at a time to pass with the beam over the other (stationary). Repeat alternately until enough measurement points are recorded. You can start and stop anywhere on the turn. Use it for big heavy machinery like gas turbines, wind turbines or gear boxes which can be difficult to rotate to a specific position.
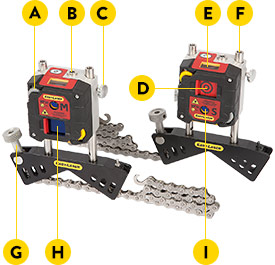
The XT50 measuring units are EX approved for use potentially explosive environments. The units utilize dot-type laser and 1-axis square PSD surfaces. A state-of-the-art OLED display shows the angle of the unit, making it easier to position it on the shaft. IP66 and 67, dust- water- and shockproof. Heavy-duty battery for very long operating times. Built-in wireless technology.
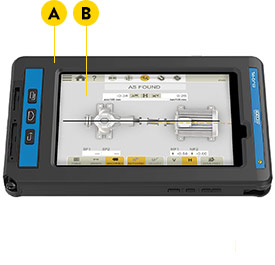
Based on Samsung GALAXY Tab Active, ecom's hazardous area tablet is certified for use in Zone 1/ 21 & DIV 1 hazardous areas.
This video goes through the XT Horizontal Shaft Alignment program using the XT440 and XT770 measuring units.
(This video was produced by our Canadian partner Benchmark PDM.)
For software, see Support > Software download.
