Let’s go party!

Let’s go party!

MS Tonne is Hamburg’s most famous party boat. It steadily cruises the harbour areas in Hamburg at 11kn and with a maximum of 300 people on board. It is a wonderful place for all kinds of events – from family celebrations, company events or birthday parties to weddings. But one day, the mooring where MS Tonne anchored was not deep enough, and during low tide the ship touched ground.

The owner and captain of the ship is Reinhard Schwarz. MS Tonne is a passenger ship class IIIc and was built in the Sietas shipyard in Hamburg in 1960. It is driven by an MAK 301E from 1959 with 370 horse powers. As mentioned, the mooring where MS Tonne anchored was not deep enough, and during low tide, the ship touched ground. This caused the machine foundation to bend, which had an effect on the bearing blocks of the crankshaft. This became obvious during a crankshaft deflection check performed some months before the actual alignment job was started in March 2017. This test is standard for all ships with a motor tightly bolted to the foundation of the machine. Also the insurance companies make it an obligatory check in their insurance contracts against machine breakage.

 
The engine is a 370 HP MAK 301iE from 1959. With some pimping to levers! 😊

So, time came again for Olaf Hagen, the machinist of MS Tonne, to lay his experienced hands on the ship and lead her through a thorough check and alignment procedure. But first, they found a new berth and when March came and Captain Schwarz went on holidays, it was a good opportunity to start the job. Anders Camenius, a young physicist from Easy-Laser’s R&D department and Gerrit Mohr, Easy-Laser’s Country Manager for Germany were invited to accompany Olaf during the first days of work on the ship.

 
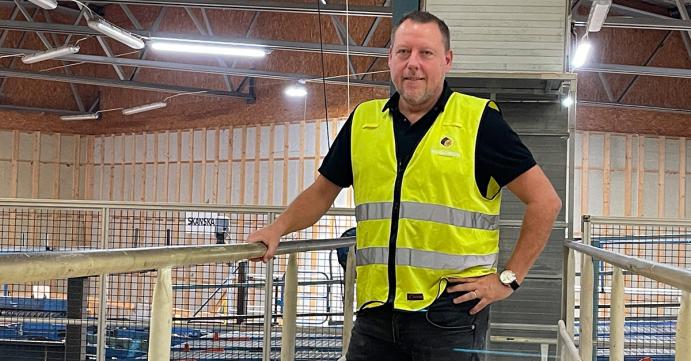
Anders, Olaf’s wife Karina, Gerrit and Olaf.

Checking the crankshaft deflection

The first step in the alignment of the driveline was to measure the crankshaft deflection, again. The crankshaft is not easily reachable, but through small hatches located on the side of the engine, one can insert a dial gauge between each pair of crank webs, and then rotate the engine.
 

Through small hatches the crankshaft can be reached.

The variation in measured gauge value during one turn reveals the actual position of the crankshaft. If the distance at the upper dead center is bigger than the one at the bottom dead center, the crankshaft bends upwards. If the bottom dead center is bigger than the upper one, the crankshaft bends downwards. What one really gets is the angular deflection of the shaft at each crankpin, and the combined result gives a picture of the overall bending of the entire crankshaft. The crankshaft deflection measurement still showed big differences since the last control check. But due to the new mooring, the engine relaxed a little. But for Olaf, it was clear that the engine needed to be aligned and he stated: “First thing we have to do now is to go and get the Easy-Laser!”

 
Sketch of the MS Tonne driveline. The part where measurements were done marked.

Coupling alignment

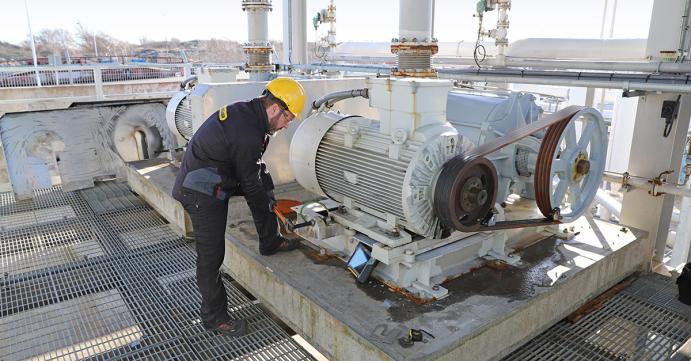
Once the crankshaft bending had been established, it was time to investigate the coupling between the engine and the gearbox. There are flywheels located on both sides of the elastic Vulkan coupling - a smaller one on the gearbox side, and a bigger one on the engine side. The flywheels reduce vibrations and pulsations caused by the four-stroke cycle of the engine. To check if shafts between engine and gearbox were aligned Olaf used the Easy-Laser E710 Shaft Alignment system. The E710 measuring units were mounted by Olaf on the inner sides of the flywheels by means of magnet bases (see illustration and photo below). 


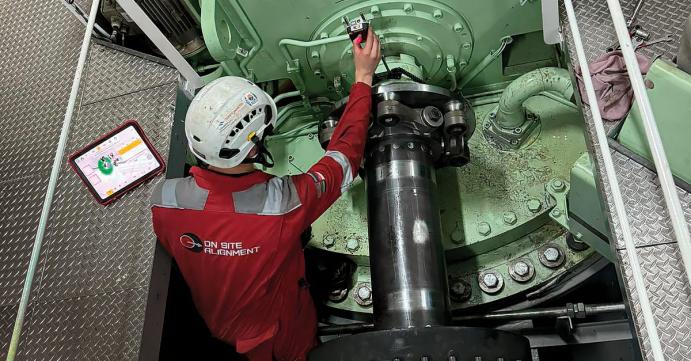
Olaf mounting the measuring units.

He used the Horizontal program to carry out a measurement of offset and angle at the coupling. Olaf utilized the “EasyTurn™” method for the purpose, which meant he could take measurements on any positions. It only took him a couple of minutes to set up everything and to rough align the measuring units. The Bluetooth™ connection to the display unit facilitated the measurement procedure, so no cables would be in the way when rotating the shaft. The measurement that followed showed that the shafts were OK and within tolerances. So far, so good.


The shafts were turned to three positions by turning the big flywheel with a metal pole. 

Searching for the actual problem

If the shafts were aligned OK, there must be another problem. But what was wrong? The suspicion in Olaf arose that the engines’ main bearing closest to the flywheel might be worn out. How could it be tested? Olaf again had a good solution for that, using the Easy-Laser equipment: Since he could apply the equipment very creatively, he mounted the E710 measuring units in new positions: one placed on the big engine flywheel, looking towards the engine, the other unit mounted on the engine wall itself (see illustration below).


The flywheel was lifted with the help of a winch.

The entire shaft was then elevated by means of a winch, until it could go no higher due to the restriction caused by the main bearing. Using the Values measurement program, a zero point was established at this shaft position. Finally, the shaft was allowed to go down again to its relaxed position. The change in the vertical value on the M and S units now showed a change of almost 0.5 mm, which is a large play. The conclusion was drawn: the main bearing was worn out and had to be replaced. Now he knew he must do what nobody would like to do voluntarily: exchange the main bearing, 34 kg, by hand!

Repeat, confirm and finish the job

Once the main bearing will have been replaced, Olaf will repeat the crankshaft deflection measurement as well as the shaft alignment and main bearing check with the Easy-Laser equipment. He will also change the shims below the motor until the crankshaft deflection is alright. During adjustment of the motor, Olaf confirms happily, the measurement heads of the E710 will constantly control “Klaff und Versatz” – angle and offset – of the shaft. Olaf concludes: “to see the live values in every position is a very precious tool for me that I cannot do with any other system and I do not want to be without it anymore – in fact – it is like gold for me doing such a job and my customers really appreciate it”. The alignment of the entire driveline will take him quite some days, but at the end he and Captain Schwarz can be sure that old “MS Tonne” with her strong MAK 301E from 1959 will cruise the Hamburg harbours in perfect condition, taking her passengers to the most interesting places to be reached on the Hamburg waterways. And, as usual, after a job was successfully done, they will look at each other saying “everything’s easy” – and we can add: “with Easy-Laser!”

By Anders Camenius 

Subscribe to our newsletter

Stay up to date with the latest news from Easy-Laser. 

I accept the terms in the Privacy policy
Your digital alignment toolbox
27 November 2024

Your digital alignment toolbox

The XT Alignment app is at the center of the Generation XT universe. The hardware, with advanced laser technology and optics, is obviously vital to a precise and reliable measurement. But it's in the software the magic happens. Read more
Laser transmitters for different measurement needs
05 November 2024

Laser transmitters for different measurement needs

Four parts are key to quick and easy measurement with laser: a laser transmitter to emit a laser beam, a detector to register it, suitable brackets, and measurement software to display the result. In this article we will guide you through our different laser transmitters and their main areas of use. Read more